This tutorial creates a 11.5" square pillow case but can be easily adjusted to any size. I used a 14" pillow form with some of the stuffing removed because it was what I had. :)
Supplies:
- Solid fabric for back of pillow and inside:
14.5" x 14.5"
17" x 13" (qty 2)
- Batting
14.5" x 14.5"
8.5" x 13" (qty 2)
- Iron-on Interfacing (I used Quilters Grid but you can use regular and draw a grid on it)
16" x 16"
-Assorted Printed Fabric (I used 8 different prints with 8 squares for each print)
2" x 2" (qty 64)
-Thread
Cotton thread with piecing and quilting.
Embroidery thread for decorative stitching.
Lay out 2" squares onto interfacing in a random configuration (the interfacing shown is bigger than 16", hence the slight over hang). I made mine so that I would have 1 square of a print in each column and row. This took awhile, I wouldn't recommend it.
Press squares onto interfacing.
Sew rows together using a 1/4" seam allowance. Cut the folds of the seams open (I used a rotary cutter and took off a sliver).
Press seams open.
Repeat with the columns. Finished size should be 12.5" square.
Sandwich the pieced top, batting, and 14.5" backing fabric to get ready for quilting.
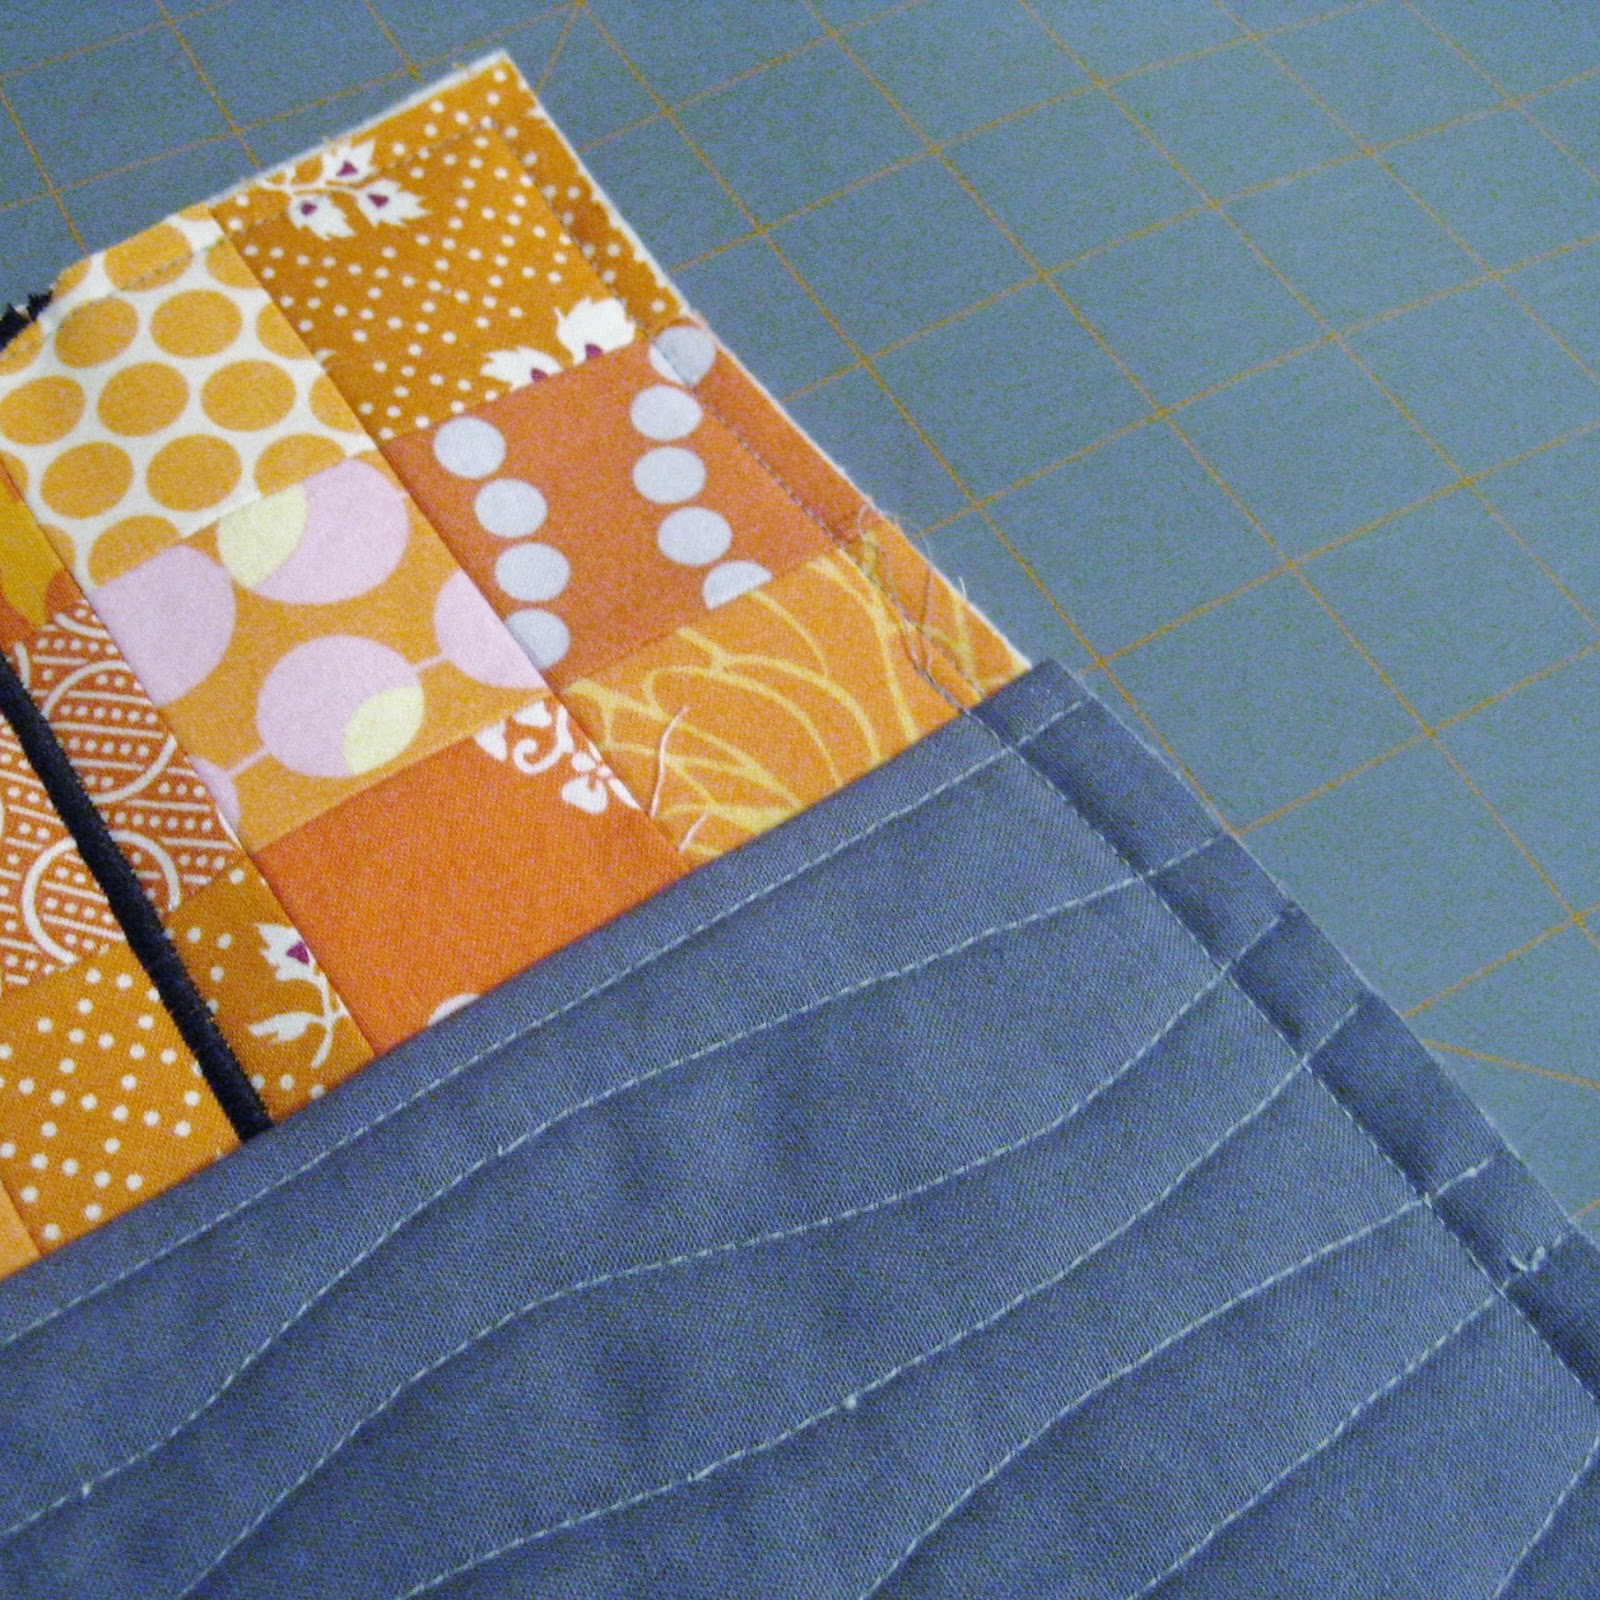
Starting at the same point, stitch lines out to the edges.
Using embroidery thread and a satin stitch, stitch lines between the previously made lines in a wonky circular pattern. When you reach one of the lines, pivot and change directions.
Stitch a line down from one of the other lines. Switch to a straight stitch and sew a circle (its ok if its a little wonky).
Going back to the satin stitch, sew the 8 legs out from the circle. Then sew a satin stitch circle over the previous circle.
Sew over the guide lines with the satin stitch. Start from the outside and stitch to the center. Continue sewing down another line towards the outside. If you have an odd number of lines, sew one line first with out continuing onto another.
Switch to regular thread and sew 1.4" around the border. Trim.
Place a piece of batting on the bottom half of a piece of solid fabric. Fold the top half of fabric over and top stitch across. Quilt as desired. Trim to 8.25" x 12.5". Repeat with the other piece of batting and solid fabric.
With right sides together, place one of the quilted solids on top of the pieced front. Sew together with 1/2" seam allowance.
Place the other quilted solid on the other half of the front. Stitch with the same 1/2" seam allowance. Reinforce corners, trim corners, and finish edges. Finished size: 11.5" square.
Turn right side out and poke out corners. Insert pillow. Done :)


.JPG)


